Consistency training
No perfect days. Just consistent ones.
Back to workout

Exercise Instructions

Barbell Row

Bent-Over Barbell Row
Exercise guide — Setup / Technique / Tips / Mistakes

Why this one is still the standard

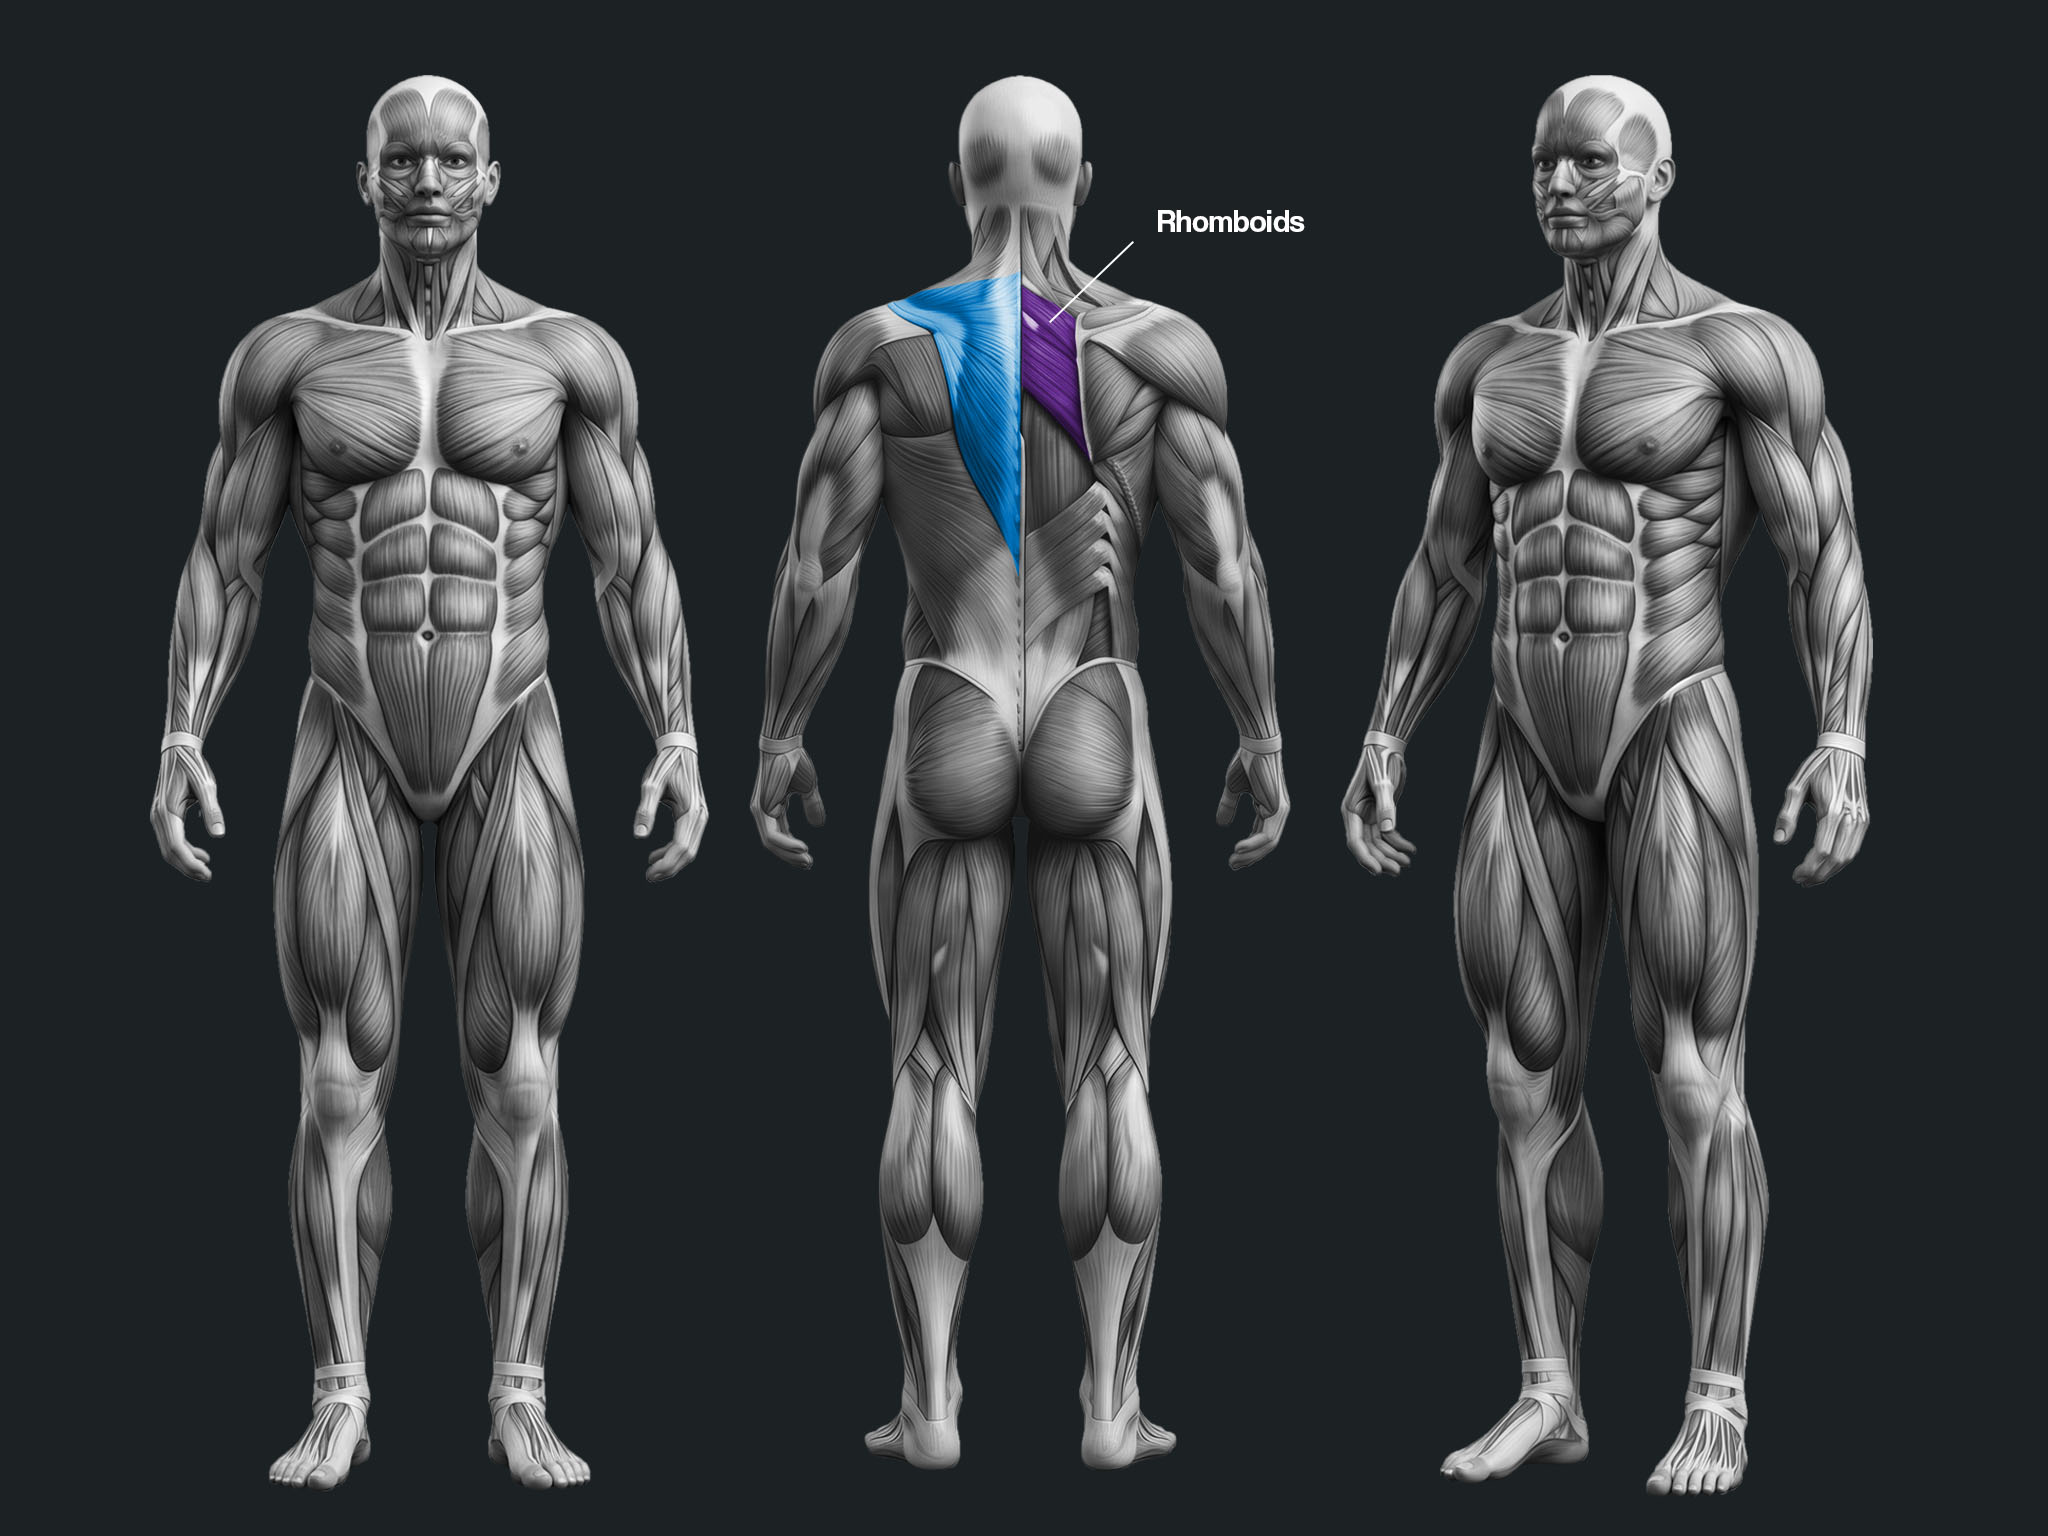
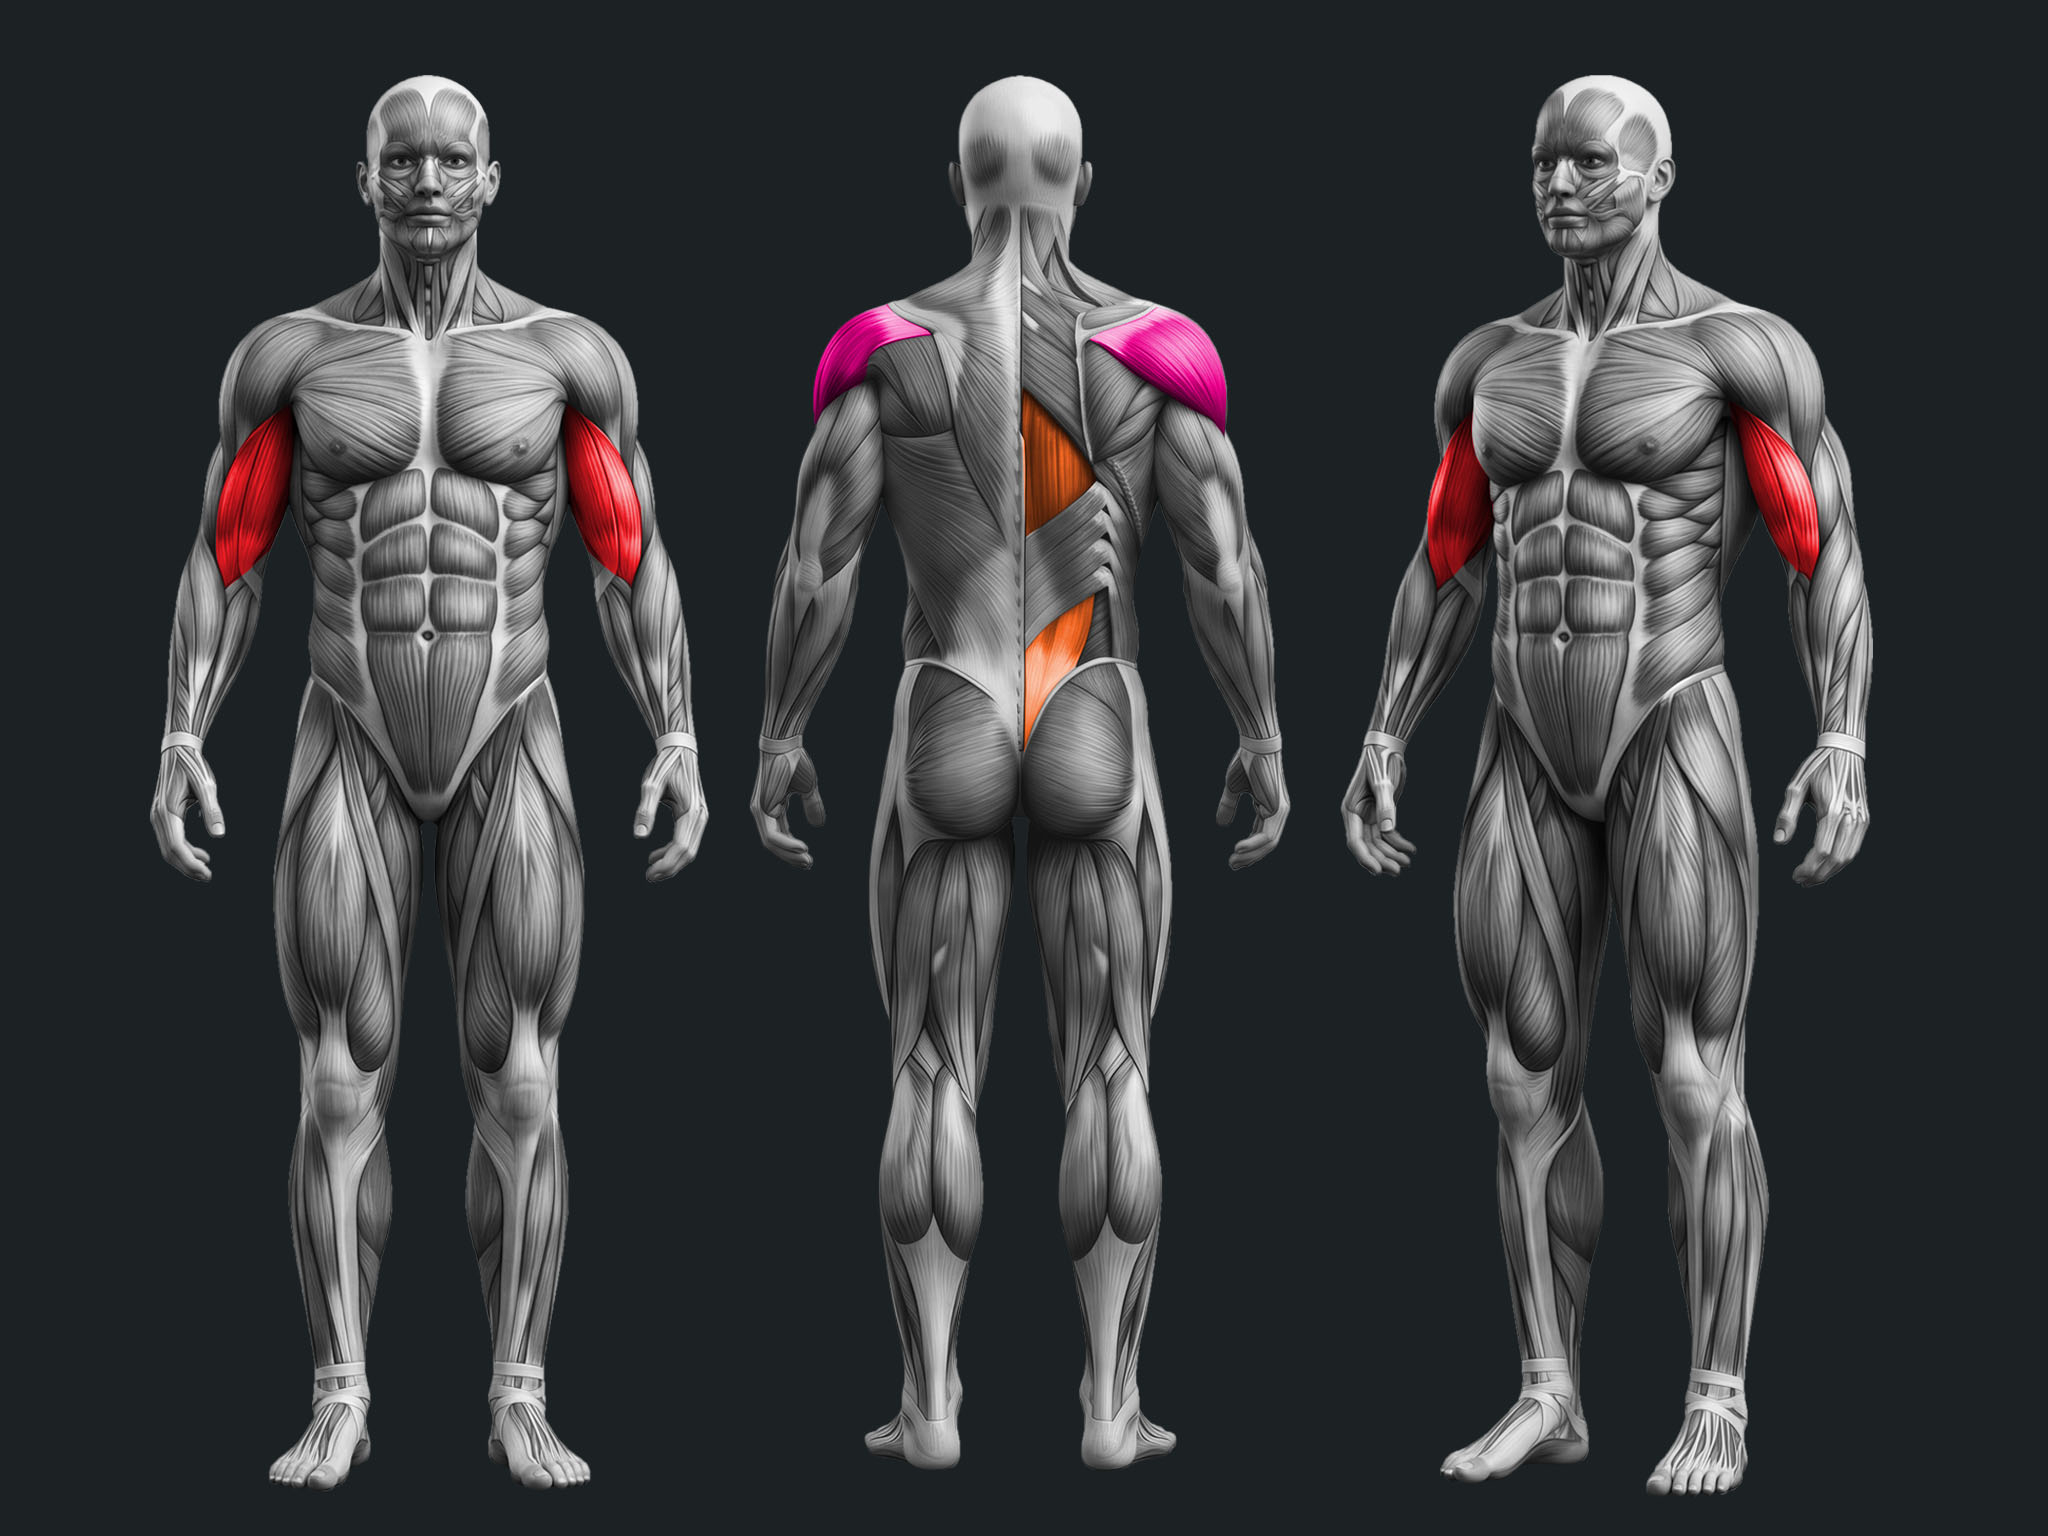
Nothing builds thickness through the middle of your back like a barbell row. Pulldowns and pullovers make you wide; this is what makes you look like you train from behind. Lats, traps, rhomboids and rear delts all load at once, in one movement, with a bar you can add weight to for years.

It's also the most honest exercise on back day. There's no seat, no pad, no machine holding you in place — you hold that hinged position yourself, which means your lower back, glutes, hamstrings and abs are working the whole set just to keep you there. That's real strength, and it carries into your deadlift, your squat and everything else you do.

The trade-off: nothing punishes sloppiness faster. Everything below exists so you get the back development without the back injury.

Setup

  • Load the bar on the rack at hip height, or start it on the floor.
  • Grip it overhand, just outside shoulder width.
  • Feet hip-width, mid-foot under the bar, knees softly bent.
  • Hinge at the hips until your torso is around 30–45° above horizontal, back flat.
  • Pull your shoulders back and brace your abs hard, like you're about to take a punch.
  • Let the bar hang with straight arms and your shoulder blades stretched forward. That's your start.

Why the setup does the work here

The hinge angle is the whole exercise. Too upright and it turns into a shrug with your traps taking over. Too low and you can't hold a flat back under load. Somewhere around 30–45° lets you keep position for a full set while the lats and mid-back still do the pulling.

Flat back is non-negotiable. A rounded spine under a loaded bar is the single fastest way to end your training for two months. Chest up, ribs down, abs braced — and hold that shape from the first rep to the last.

And let the bar hang with your shoulder blades pulled forward at the bottom. That stretch is free range of motion most people skip.

Technique

  • Start each rep by pulling your shoulder blades back and together.
  • Drive your elbows back toward your hips, not out to the sides.
  • Pull the bar into your lower ribs or upper stomach — not your chest.
  • Squeeze your back hard for a beat at the top.
  • Lower under control for 2–3 seconds until your arms are straight and your shoulder blades travel forward.
  • Keep your torso frozen the entire time — the bar moves, you don't.

Why technique decides everything here

Same cue as every pull: your hands are hooks, your elbows do the pulling. Think about driving the elbows past your ribs and the load lands in your lats. Think about your hands and it goes straight to your biceps.

Where the bar touches decides which muscle gets it. Low, into the ribs with elbows tucked, is a lat row. High, into the chest with elbows flared, is an upper-back and rear-delt row. Both are useful — but pick one and know which one you're doing.

The torso staying still is what separates a row from a jerk. If your chest rises as the bar comes up, your lower back and hips are lifting the weight, not your back. Freeze the hinge, move the bar.

Common Mistakes

  • Rounding the lower back under load.
  • Standing up as you pull — using the hips to swing the weight.
  • Pulling with the hands and biceps instead of the elbows.
  • Flaring the elbows wide and pulling to the chest when you meant to hit the lats.
  • Cutting the bottom short and never straightening the arms.
  • Dropping the bar down fast instead of lowering it.
  • Taking it to failure with a heavy bar — this is a compound, keep 1–2 reps in reserve.

Where people lose results

The barbell row punishes ego harder than anything else on back day, and it punishes it in a predictable order.

Too much weight collapses the pattern from the bottom up. The torso starts rising, the lower back rounds, the shoulder blades stop squeezing at the top and stop releasing at the bottom. You end up half-deadlifting the bar through the middle of the range, feeling nothing in your back and carrying real injury risk while you do it. The rule is simple: if your torso moves, the weight is wrong. Freeze the hinge, drop the bar, earn it back.

But going too light doesn't save you either. A bar you can row twenty times with perfect form is a warm-up, not a working set. Clean reps only matter if the last ones are genuinely hard. Right weight means both — position holds and you finish near your target RIR. Not one or the other.

The third thing, and it's specific to this lift: your torso angle has to be the same every week. Row at 45° one session and 20° the next, and your numbers mean nothing — you're not progressing, you're just changing the exercise. Pick your hinge, log it, and repeat it. Then the weight going up actually tells you something.

And remember what this lift is: a heavy compound, so it never goes to failure. Stop 1–2 reps short on every working set. Save failure for the machines and isolation later in the session, where nothing can go wrong.

Target Muscles
Latissimus Dorsi (Lats)
Primary
Rhomboids, Middle & Lower Trapezius
Assisting
Rear Deltoids, Biceps Brachii & Spinal Erectors
Assisting
Recommended Equipment

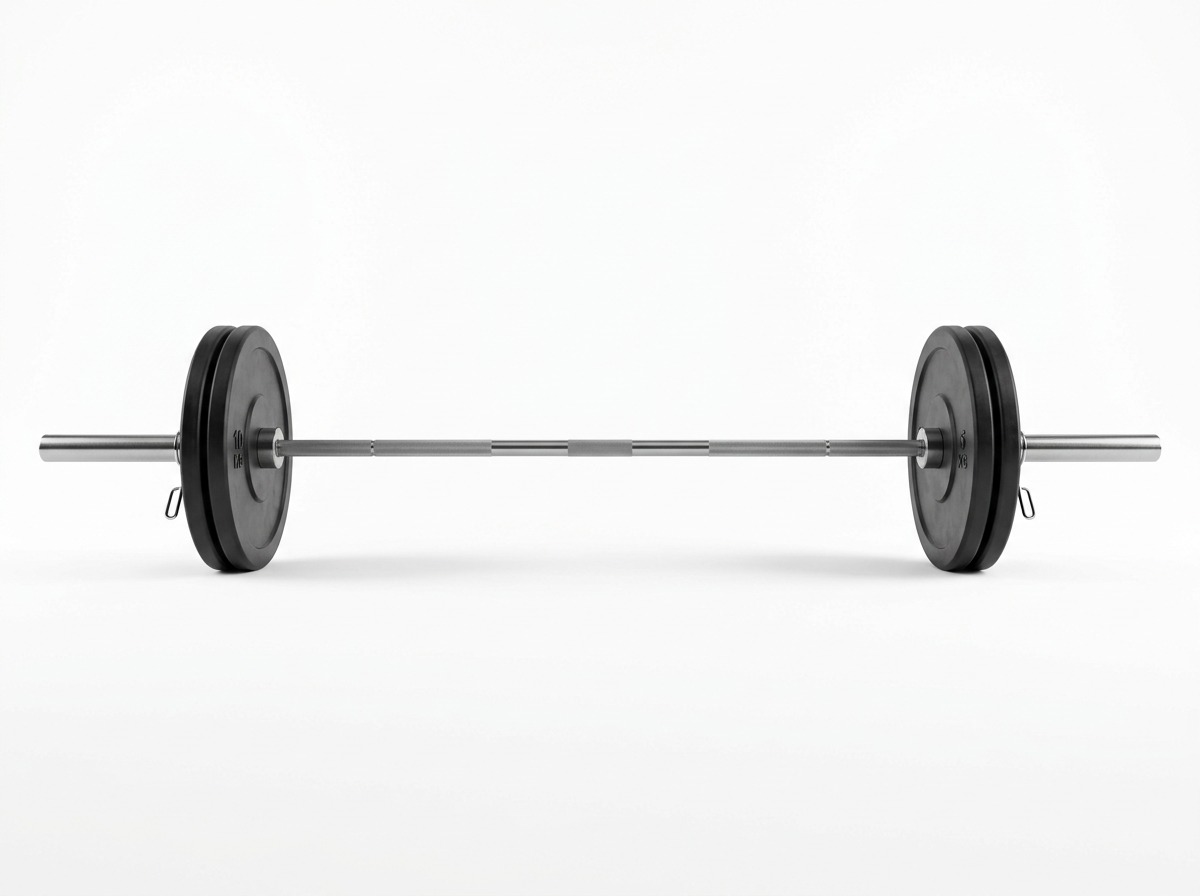
Barbell (any bar you can load — an Olympic 20 kg bar if you have one)
Any straight barbell works here. The standard Olympic bar (20 kg on its own) is what most gyms have and what I'd use
Exercise Instructions

Barbell Row

(
Bent-Over Barbell Row
)
Exercise guide — Setup / Technique / Tips / Mistakes

Why this one is still the standard

Nothing builds thickness through the middle of your back like a barbell row. Pulldowns and pullovers make you wide; this is what makes you look like you train from behind. Lats, traps, rhomboids and rear delts all load at once, in one movement, with a bar you can add weight to for years.

It's also the most honest exercise on back day. There's no seat, no pad, no machine holding you in place — you hold that hinged position yourself, which means your lower back, glutes, hamstrings and abs are working the whole set just to keep you there. That's real strength, and it carries into your deadlift, your squat and everything else you do.

The trade-off: nothing punishes sloppiness faster. Everything below exists so you get the back development without the back injury.

Setup

  • Load the bar on the rack at hip height, or start it on the floor.
  • Grip it overhand, just outside shoulder width.
  • Feet hip-width, mid-foot under the bar, knees softly bent.
  • Hinge at the hips until your torso is around 30–45° above horizontal, back flat.
  • Pull your shoulders back and brace your abs hard, like you're about to take a punch.
  • Let the bar hang with straight arms and your shoulder blades stretched forward. That's your start.

Why the setup does the work here

The hinge angle is the whole exercise. Too upright and it turns into a shrug with your traps taking over. Too low and you can't hold a flat back under load. Somewhere around 30–45° lets you keep position for a full set while the lats and mid-back still do the pulling.

Flat back is non-negotiable. A rounded spine under a loaded bar is the single fastest way to end your training for two months. Chest up, ribs down, abs braced — and hold that shape from the first rep to the last.

And let the bar hang with your shoulder blades pulled forward at the bottom. That stretch is free range of motion most people skip.

Technique

  • Start each rep by pulling your shoulder blades back and together.
  • Drive your elbows back toward your hips, not out to the sides.
  • Pull the bar into your lower ribs or upper stomach — not your chest.
  • Squeeze your back hard for a beat at the top.
  • Lower under control for 2–3 seconds until your arms are straight and your shoulder blades travel forward.
  • Keep your torso frozen the entire time — the bar moves, you don't.

Why technique decides everything here

Same cue as every pull: your hands are hooks, your elbows do the pulling. Think about driving the elbows past your ribs and the load lands in your lats. Think about your hands and it goes straight to your biceps.

Where the bar touches decides which muscle gets it. Low, into the ribs with elbows tucked, is a lat row. High, into the chest with elbows flared, is an upper-back and rear-delt row. Both are useful — but pick one and know which one you're doing.

The torso staying still is what separates a row from a jerk. If your chest rises as the bar comes up, your lower back and hips are lifting the weight, not your back. Freeze the hinge, move the bar.

Common Mistakes

  • Rounding the lower back under load.
  • Standing up as you pull — using the hips to swing the weight.
  • Pulling with the hands and biceps instead of the elbows.
  • Flaring the elbows wide and pulling to the chest when you meant to hit the lats.
  • Cutting the bottom short and never straightening the arms.
  • Dropping the bar down fast instead of lowering it.
  • Taking it to failure with a heavy bar — this is a compound, keep 1–2 reps in reserve.

Where people lose results

The barbell row punishes ego harder than anything else on back day, and it punishes it in a predictable order.

Too much weight collapses the pattern from the bottom up. The torso starts rising, the lower back rounds, the shoulder blades stop squeezing at the top and stop releasing at the bottom. You end up half-deadlifting the bar through the middle of the range, feeling nothing in your back and carrying real injury risk while you do it. The rule is simple: if your torso moves, the weight is wrong. Freeze the hinge, drop the bar, earn it back.

But going too light doesn't save you either. A bar you can row twenty times with perfect form is a warm-up, not a working set. Clean reps only matter if the last ones are genuinely hard. Right weight means both — position holds and you finish near your target RIR. Not one or the other.

The third thing, and it's specific to this lift: your torso angle has to be the same every week. Row at 45° one session and 20° the next, and your numbers mean nothing — you're not progressing, you're just changing the exercise. Pick your hinge, log it, and repeat it. Then the weight going up actually tells you something.

And remember what this lift is: a heavy compound, so it never goes to failure. Stop 1–2 reps short on every working set. Save failure for the machines and isolation later in the session, where nothing can go wrong.

Target Muscles
Latissimus Dorsi (Lats)
Primary
Rhomboids, Middle & Lower Trapezius
Assisting
Rear Deltoids, Biceps Brachii & Spinal Erectors
Assisting
Recommended Equipment

Barbell (any bar you can load — an Olympic 20 kg bar if you have one)
Any straight barbell works here. The standard Olympic bar (20 kg on its own) is what most gyms have and what I'd use

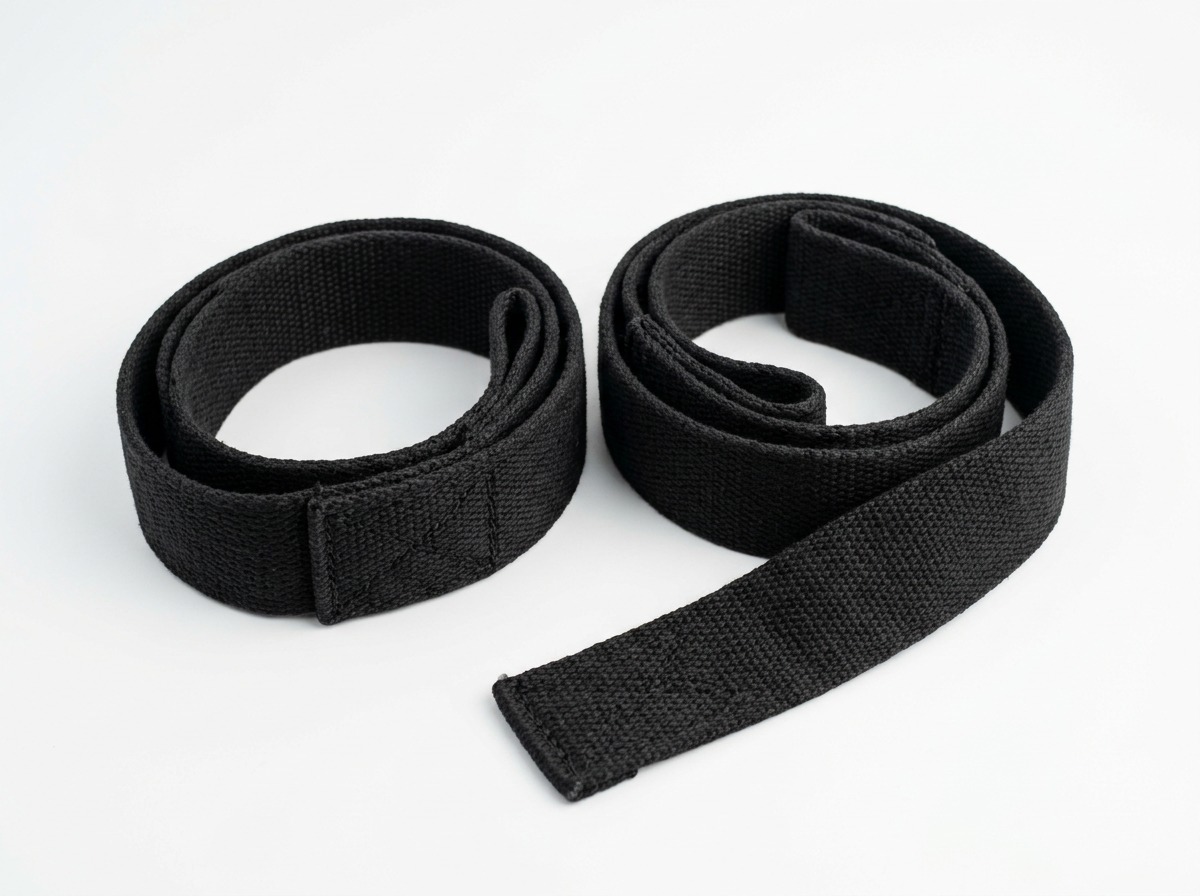
Lifting Straps (optional) & Weightlifting Belt (optional)
Two optional accessories that come into play once the bar gets heavy.

Gym Alternative
Chest-Supported T-Bar Row
Additional gym alternatives, best to worst:

Additional gym alternatives, best to worst:

  1. Pendlay Row (strict, dead-stop from the floor every rep)
  2. Seal Row (lying face-down on a raised bench — zero cheating possible)
  3. Single-Arm Dumbbell Row (braced on a bench, more range per side)
  4. Seated Cable Row (constant tension, much easier on the spine)
  5. Machine Row / Hammer Strength Row (fixed path, safe to push near failure)
Home Alternative
Bent-Over Dumbbell Row
Additional home alternatives:

Additional home alternatives:

  1. Single-Arm Dumbbell Row braced on a chair or bed
  2. Backpack Row — loaded backpack held by the straps
  3. Resistance Band Bent-Over Row — band under both feet
  4. Inverted Rows / Towel Rows under a sturdy table
  5. Suitcase or Kettlebell Row — anything heavy with a handle